Table of Contents
- Why Choose Flexible Solar Panels?
- What You’ll Need for Flexible Roof Installation
- How to fix flexible solar panels on roof?
- Step 1: Plan Your Layout
- Step 2:Connecting the cables
- Step 3:Installing the Charge Controller
- Step4:Connecting the inverter (if applicable)
- Step5: Testing the System
- Step 6:Ensure waterproof sealing
- Best Flexible Solar Panel for RV
- FAQ
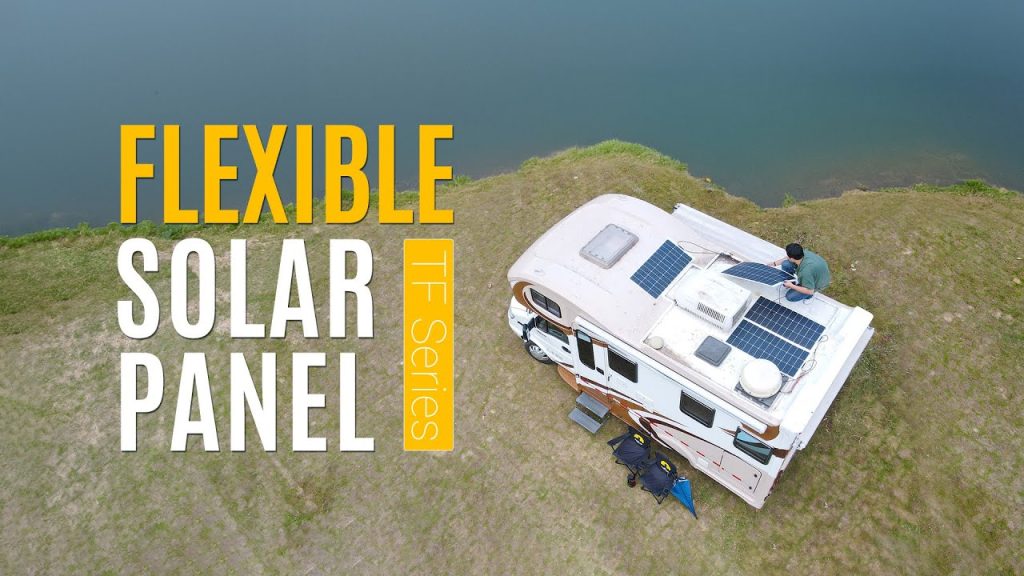
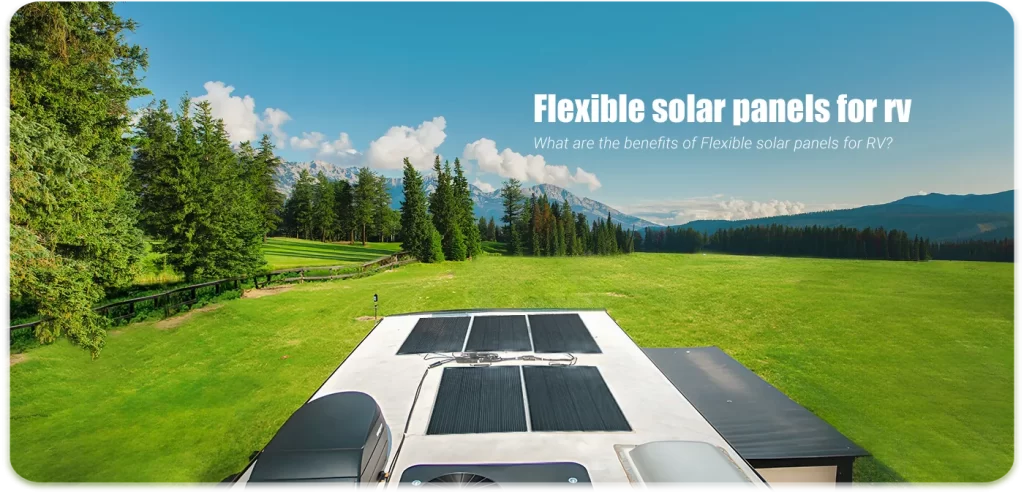
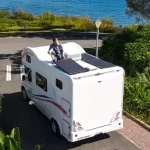
Are you ready to harness the sun’s power while on the road? Installing flexible solar panels on your RV roof is a fantastic way to generate clean energy and enhance your off-grid adventures. In this guide, we’ll walk you through how to fix flexible solar panels on roof, whether you prefer a no-drill method or direct mounting. Let’s get started!
Why Choose Flexible Solar Panels?
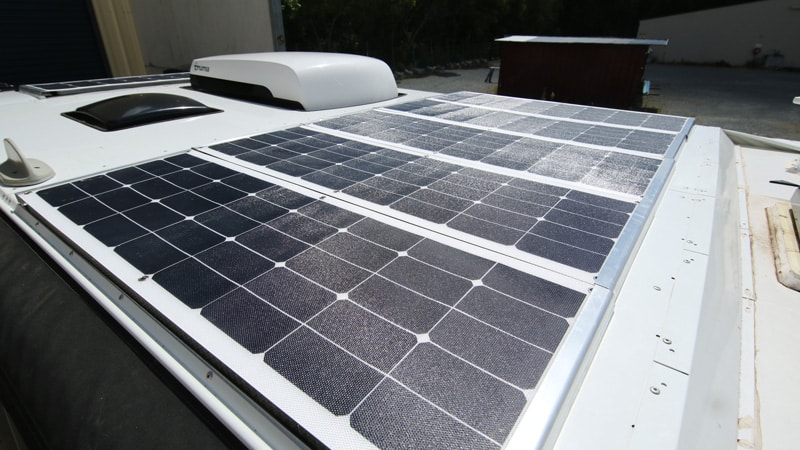
Flexible solar panels are lightweight, easy to install, and conform to your RV roof’s contours. They’re an excellent choice for those looking to maximize their energy efficiency without the bulk of traditional panels. Plus, they can be installed with minimal tools and effort!
Maximize Available Surface Area
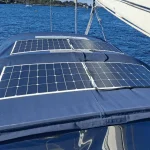
One of the primary advantages of flexible solar panels is their ability to maximize the surface area of your RV’s roof. Their flexibility allows them to conform to curved and irregular surfaces, making it easier to install them in locations where rigid panels might not fit. This means you can generate more electricity from the available space on your RV, enhancing your overall energy production capabilities.
Lightweight and Easy to Mount
Flexible solar panels are significantly lighter than traditional rigid panels, which is a crucial factor for RV owners concerned about weight and fuel efficiency. The lightweight design makes installation straightforward; many flexible panels can be mounted using industrial silicone adhesive or high-strength double-sided tape, eliminating the need for heavy mounting hardware. This ease of installation is particularly beneficial for those who prefer a quick and hassle-free setup.
Portability
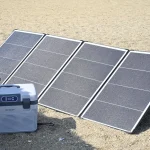
Another key benefit of flexible solar panels is their portability. They can be easily rolled up or folded, making them convenient for storage and transport. Whether you’re moving from one campsite to another or storing your RV during the off-season, flexible panels can be taken along without taking up much space. This feature makes them ideal for outdoor activities like camping or boating, where lightweight and portable power sources are essential.
Versatile Installation Options
Flexible solar panels offer more versatile mounting options compared to traditional solar panels. They can be installed directly onto the roof of your RV without the need for additional equipment or drilling holes, which could lead to leaks. This versatility allows you to position the panels in a way that optimizes sunlight exposure while ensuring they remain securely attached during travel.
Compatibility with Other Solar Panel Types
Flexible solar panels can easily connect with other types of solar panels, such as rigid or portable models. This means you can create a customized solar power system that meets your specific energy needs while traveling off-grid. By combining different panel types, you can enhance your overall energy output and ensure you have enough power for all your devices.
What You’ll Need for Flexible Roof Installation
Before diving into the installation, gather the following materials:
- Flexible solar panels
- Aluminum T-track (for no-drill installation)
- Corrugated plastic sheet (for insulation)
- 1/4″ x 20 T-bolts and washers
- Sikaflex sealant or silicone-based adhesive
- Double-sided tape (like 3M VHB or Eternabond tape)
- Vinyl lattice (for edge protection)
- Tools: Drill, screwdriver, solvent (acetone or rubbing alcohol), and marker.
How to fix flexible solar panels on roof?
Step 1: Plan Your Layout
Start by positioning your solar panels on the roof of your RV. Make sure to avoid shaded areas caused by vents or air conditioners. Use tape to mark where each panel will go, leaving a small gap of about 0.79 inches (20 mm) between multiple panels for interconnection.
Installation Methods
You have a couple of options for installing your flexible solar panels: using T-track for a no-drill method or directly mounting them with screws.
Method 1: Using T-Track (No Drilling)
Prepare the Insulator: Cut a piece of corrugated plastic sheet to match the size of your solar panel and attach it with Sikaflex.
Install T-Track:
- Clean both the roof surface and T-track with acetone.
- Apply double-sided tape to the bottom of the T-track.
- Position the T-tracks on the roof, press down firmly and seal around them with Sikaflex for added moisture protection.
Mount Solar Panels:
- Slide T-bolts into the T-track, aligning them with the grommet holes in your solar panel.
- Place the panel over the bolts and secure it using washers and nuts. For convenience, consider using wingnuts for easy removal.
- Add Edge Protection: Attach vinyl lattice around the edges to cover any sharp points and allow for airflow, minimizing wind lift.
Method 2: Direct Mounting (Drilling)
Position Panels: Place your panels where you want them and mark through pre-drilled holes onto your RV roof.
Drill Holes: Carefully drill holes at marked locations, ensuring they are clean and appropriately sized.
Secure Panels:
- Use screws to attach each panel directly to the roof, starting with diagonally opposite corners for alignment.
- Seal around each screw with Sikaflex to prevent leaks.
Method 3: Adhesive Mounting
Apply Adhesive: If you prefer a no-drill approach, apply silicone adhesive or double-sided tape along the back of each solar panel in strips beneath cell gaps (avoid edges to prevent air pockets).
Press Down: Firmly press each panel onto the roof surface to ensure a strong bond.
Step 2:Connecting the cables
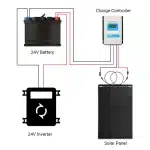
After installing the solar panel, the first thing you need to do is to connect the cables. You will need to connect the positive and negative cables from the solar panel to the corresponding ports on the charge controller. Make sure the charge controller is off before connecting to avoid any accidental electric shock or short circuit.
Step 3:Installing the Charge Controller
Install the charge controller inside the RV as close to the battery as possible. This will reduce the cable length and thus reduce energy loss. The function of the charge controller is to manage the current from the solar panel to the battery, ensuring that the battery is not overcharged or over discharged.
Step4:Connecting the inverter (if applicable)
If you intend to use AC equipment, you will need to install an inverter. The inverter converts DC power to AC power so that it can be supplied to household appliances in the RV. Make sure the inverter is properly connected to your battery pack and follow the manufacturer’s instructions for setup.
Step5: Testing the System
With all connections completed, you are ready to test the system. First, turn on the charge controller and inverter, then check that the solar panels are working properly. You can use a multimeter to measure the output voltage to make sure it is as expected. In addition, you can try to connect some loads (such as lamps or small household devices) to verify whether the system can supply power properly.
Step 6:Ensure waterproof sealing
If you used any through-wall fittings or sealants during installation, make sure these are completely sealed to prevent moisture from seeping inside the RV. This is a very important step as moisture can cause short circuits or other electrical failures.
Congratulations! You’ve successfully installed flexible solar panels on your RV roof. By following these steps, you’re now ready to enjoy sustainable energy during your travels. Embrace the freedom of off-grid living while reducing your carbon footprint—happy camping!
Best Flexible Solar Panel for RV
If you’re looking to power your RV off the grid, the Sungold 120W 12V Flexible Monocrystalline Solar Panel is an excellent choice. Offering both high efficiency and durability, this flexible panel is designed for RV owners who need reliable, lightweight solar power solutions. Sungold offers a wide range of flexible solar panels, from 60W to 295W, and this 120W version stands out for its premium construction and performance.
Key Features:
- High-Efficiency Monocrystalline Cells: Equipped with 36 SunPower back-contact solar cells, this panel boasts a 20.52% module efficiency for maximum energy output.
- Lightweight and Flexible Design: At 75% lighter than traditional rigid panels, this flexible design makes it perfect for RVs with limited space and a need for portability.
- Built to Last: With a temperature tolerance range of -40°F to 185°F (-40°C to 85°C), it can handle extreme weather conditions, ensuring consistent performance no matter where your adventures take you.
- Superior Durability: The SunPower cells are not only more efficient but also robust enough to withstand physical stress, including being stepped on.
- Warranty and Longevity: Backed by a 6-year warranty on materials and workmanship, and designed to last up to 20 years, this panel offers long-term peace of mind for your off-grid needs.
Whether you’re powering lights, appliances, or your entire RV system, the Sungold 120W Flexible Solar Panel provides an efficient, durable, and easy-to-install solution for off-grid living.
FAQ
What are the best practices for applying adhesives to ensure a strong bond?
To ensure a strong bond, clean the surfaces thoroughly, select the appropriate adhesive, apply it evenly, and allow sufficient curing time as per manufacturer guidelines.
How do environmental conditions affect the performance of outdoor adhesives?
Environmental conditions such as extreme temperatures, humidity, UV exposure, and rain can impact the curing process and long-term strength of adhesives, so selecting weather-resistant adhesives is crucial.
Are there specific adhesives recommended for different types of solar panels?
Yes, UV-resistant silicones or polyurethanes are ideal for monocrystalline and polycrystalline panels, while flexible panels require elastic adhesives like silicone or acrylic for durability and flexibility.
What are the latest advancements in adhesive technology for solar panel installations?
Recent advancements include UV-curable adhesives for faster curing, high-performance polyurethanes for better resistance, and structural adhesives for improved durability and long-term strength.
How do you handle adhesive failures or weaknesses in solar panel attachments?
In case of adhesive failure, carefully remove the old adhesive, clean the surfaces, and reapply a suitable adhesive, ensuring proper curing and testing the bond strength after reapplication.

