In a world where we’re constantly connected, backpacking offers a unique escape from the hustle and bustle of daily life. It’s a way to connect with nature, discover new places, and ultimately, rediscover ourselves. However, even in the heart of the wilderness, we often find ourselves tethered to electronic devices, from smartphones for navigation to cameras for capturing those breathtaking moments. This is where backpacking solar panels come to the rescue, ensuring your adventure remains powered and connected. In this comprehensive guide, we’ll explore what backpacking solar panels are, the various types available, how they work, and why Sungold’s BXF Series is a top recommendation. Plus, we’ll equip you with valuable tips on choosing the right backpacking solar panel for your needs.
What Are Backpacking Solar Panels?
Backpacking solar panels are portable, lightweight, and often flexible solar panels designed to capture sunlight and convert it into electricity that you can use to charge various electronic devices, from smartphones and GPS units to power banks and camera batteries. These compact power sources are specifically tailored for outdoor enthusiasts, hikers, campers, and backpackers who need a reliable and sustainable energy supply while on the go.
Types of Backpacking Solar Panels
When it comes to backpacking solar panels, you have a range of options to choose from:
Foldable Solar Panels: These panels are designed to be easily folded and unfolded, making them highly portable and compact. They’re ideal for attaching to the outside of your backpack, so they charge while you hike.
Rollable Solar Panels: Rollable solar panels are incredibly flexible and easy to store. You can roll them up and stow them in your backpack, unrolling them whenever you need to soak up some sun.
Integrated Solar Backpacks: These are backpacks with built-in solar panels on the exterior. They’re convenient because they combine storage and power generation in one.
Solar Chargers: Solar chargers are smaller, portable devices that typically feature several solar panels. They are perfect for charging small gadgets directly or for topping up power banks.
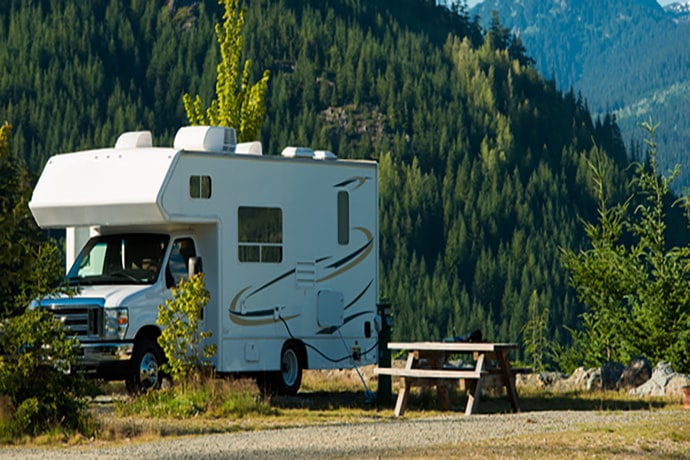
High-Performance Solar Panels: These are larger, fixed solar panels designed for base camps or RVs. They are less suitable for backpacking due to their size and weight but can be an excellent addition to your off-grid adventure setup.
How Do Backpacking Solar Panels Work?
Backpacking solar panels utilize photovoltaic cells to convert sunlight into electrical energy. These cells are made from semiconductor materials, usually silicon-based, which generate an electric current when exposed to photons of sunlight. When multiple cells are connected, they form a solar panel.
When sunlight hits the solar panel, the cells within it create an electric current that flows through wires and into a charge controller. The charge controller ensures that the energy is directed to your devices in a stable and safe manner. From the controller, the energy can be stored in a power bank or used directly to charge your gadgets.
The effectiveness of backpacking solar panels depends on various factors, including the panel’s size, the efficiency of the photovoltaic cells, and the angle and intensity of sunlight. The best backpacking solar panels, like those from Sungold, are designed to be efficient and lightweight, making them ideal for adventurers on the move.

The Best Backpacking Solar Panels with Sungold
When it comes to selecting the best backpacking solar panels, Sungold’s BXF Series stands out as a top choice. These portable solar panels are engineered for performance and durability, making them an excellent companion for your outdoor journeys.
The Sungold BXF Series offers a range of wattages to suit your power needs while being incredibly lightweight and easy to transport. Their flexibility allows you to attach them to your backpack, tent, or any available surface, so you can charge your devices while on the move. Plus, they are highly efficient and capable of converting sunlight into electricity even in less-than-ideal conditions.
With a Sungold BXF Series solar panel, you can embrace the full potential of solar energy, ensuring your devices stay charged, and your adventures remain unhindered by power concerns.
How to Choose a Backpack Solar Panel?
Selecting the right backpacking solar panel for your needs requires careful consideration. Here are some key factors to keep in mind:
Wattage: Choose a solar panel with the appropriate wattage for your power requirements. Higher wattage panels will charge devices faster, but they may be heavier.
Size and Weight: Opt for a panel that strikes the right balance between size and weight, ensuring it’s easily portable.
Efficiency: Look for panels with high efficiency ratings, as they can make the most of available sunlight.
Durability: Consider the conditions you’ll encounter during your adventures and select a panel built to withstand them.
Compatibility: Ensure the panel is compatible with your devices and has the necessary output ports.
Portability: Choose a panel that can be easily attached to your backpack or gear.
Price: Set a budget and find a panel that meets your needs without breaking the bank.
Backpacking Solar Panel FAQ
Q1: How long does it take to charge a smartphone with a backpacking solar panel?
A1: The charging time depends on several factors, including the panel’s wattage, the intensity of sunlight, and the phone’s battery capacity. On a sunny day, a moderate-sized panel can charge a smartphone in a few hours.
Q2: Can I charge devices when the weather is cloudy?
A2: Yes, but charging will be slower and less efficient. High-quality panels, like the Sungold BXF Series, are designed to capture as much sunlight as possible, even in overcast conditions.
Q3: Are backpacking solar panels waterproof?
A3: Many backpacking solar panels are designed to be water-resistant, but it’s essential to check the specifications of the specific panel you’re considering. Always keep your electronics protected in waterproof cases.
Q4: How do I clean my solar panel in the wilderness?
A4: It’s best to use a soft, lint-free cloth and some clean water. Avoid abrasive materials that could scratch the panel’s surface.
Backpacking solar panels are your ticket to unlimited power while exploring the great outdoors. With the right panel, you can keep your devices charged and stay connected, ensuring your adventures are not only memorable but also well-documented. Choose wisely, and the sun will become your ever-reliable power source, enhancing your backpacking experiences.


