Table of Contents
What Are The Best Solar Panels For Campervans?
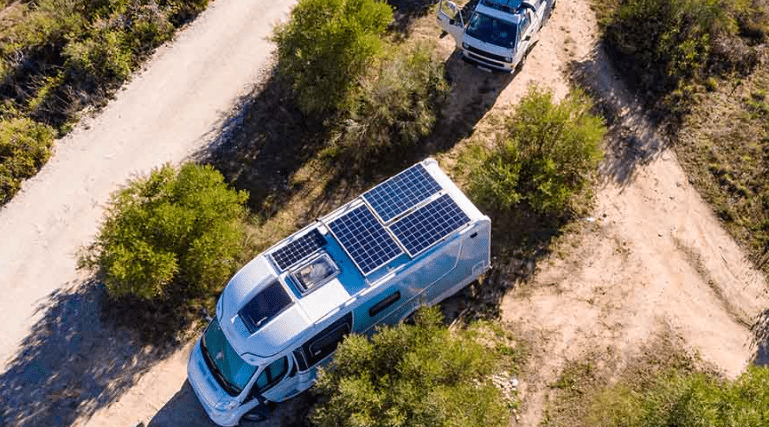
If you’re contemplating the addition of a solar panel for camper to your caravan, it’s crucial to familiarise yourself with the various types available. By doing so, you can make certain that the solar panel for camper you choose aligns perfectly with both your caravan and your lifestyle. At Sungold, we provide an array of solar panels, including rigid, flexible, and folding monocrystalline panels, each meticulously crafted to meet the unique needs of caravans, campervans, and other forms of mobile accommodation
Flexible Solar Panels
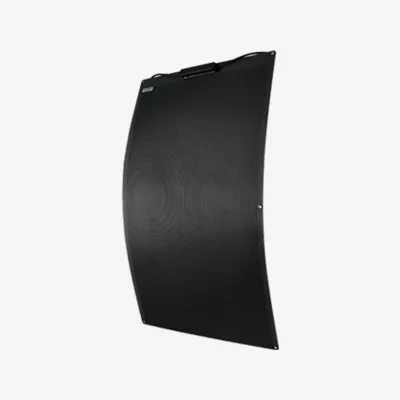
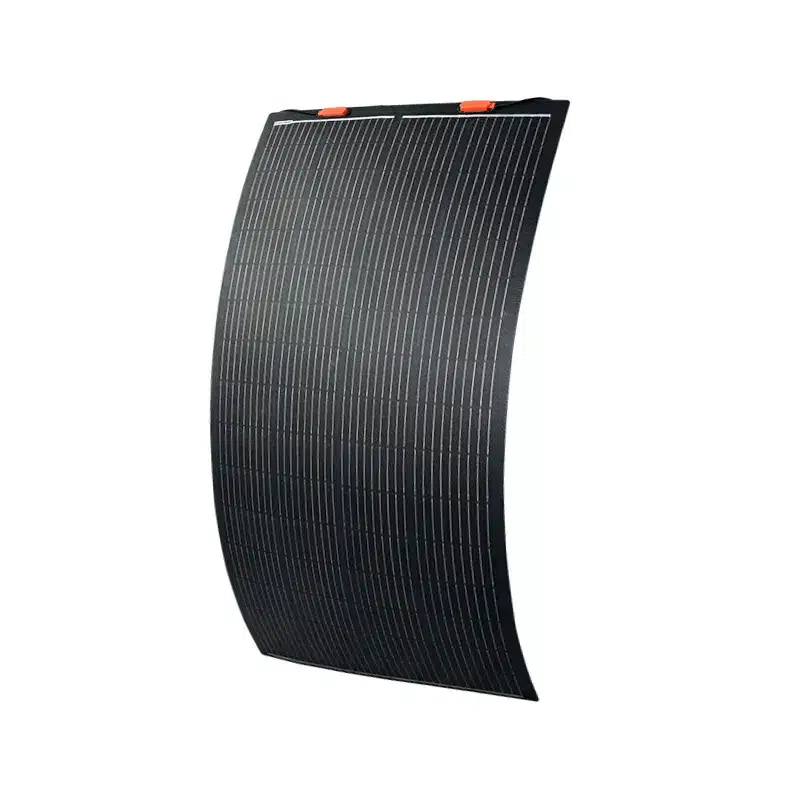
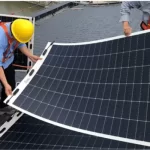
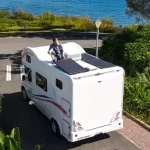
Flexible panels are exceptionally lightweight and straightforward to install, ideally suited to contoured surfaces. They effectively act as a large adhesive sticker, seamlessly adhering to your caravan’s roof while conserving space. This installation method is hassle-free, requiring no drilling or complex mounting hardware. Although they may come at a higher cost, flexible panels excel in scenarios where rigid panels cannot be used. For applications where weight reduction and load limitations are crucial, flexible panels are a superb option. For example, Sungold’s 100-watt and 200-watt flexible solar panels are not only light but also perfect for mounting on caravans with arched roofs. These panels can be directly attached to the roof using VHB tape or Eternabond, avoiding any need for drilling or potential roof damage. It is advisable to ensure there is adequate space between the roof and the panels to facilitate ventilation.
flexible solar panels
Rigid Solar Panels
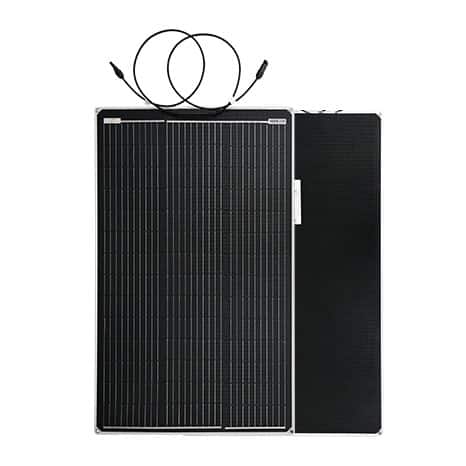
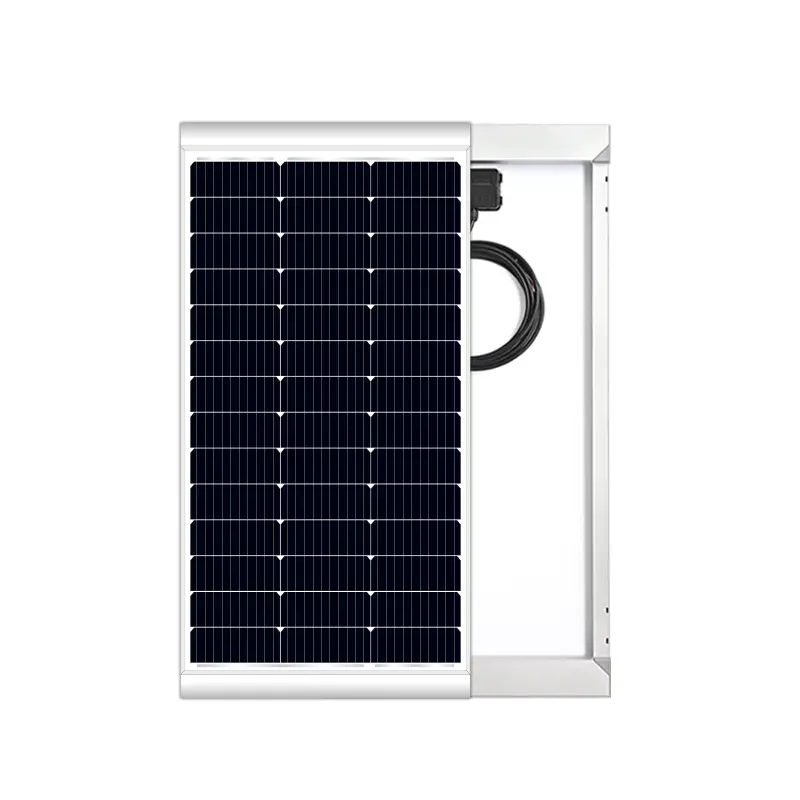
Rigid solar panels are the definitive choice for permanent rooftop installations. Favoured for their robustness, efficiency, and affordability, these panels are extensively utilised across residential settings, caravans, and boats. Featuring an aluminium frame, they are readily mounted onto roof racks or can be directly secured to caravans using mounting brackets, simplifying the installation process. Available in a range of sizes, rigid panels cater to diverse financial plans. For example, Sungold’s 100-watt and 200-watt rigid monocrystalline solar panels are the perfect fit for caravans equipped with roof racks or comparable supporting structures. Their sturdy frames offer enhanced support, safeguarding against panel warping and enabling them to endure greater loads and pressures.
Portable Solar Panels
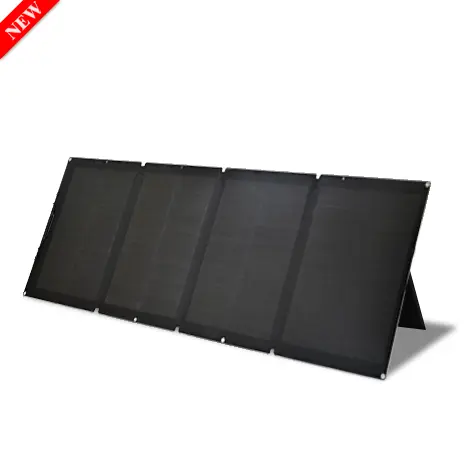
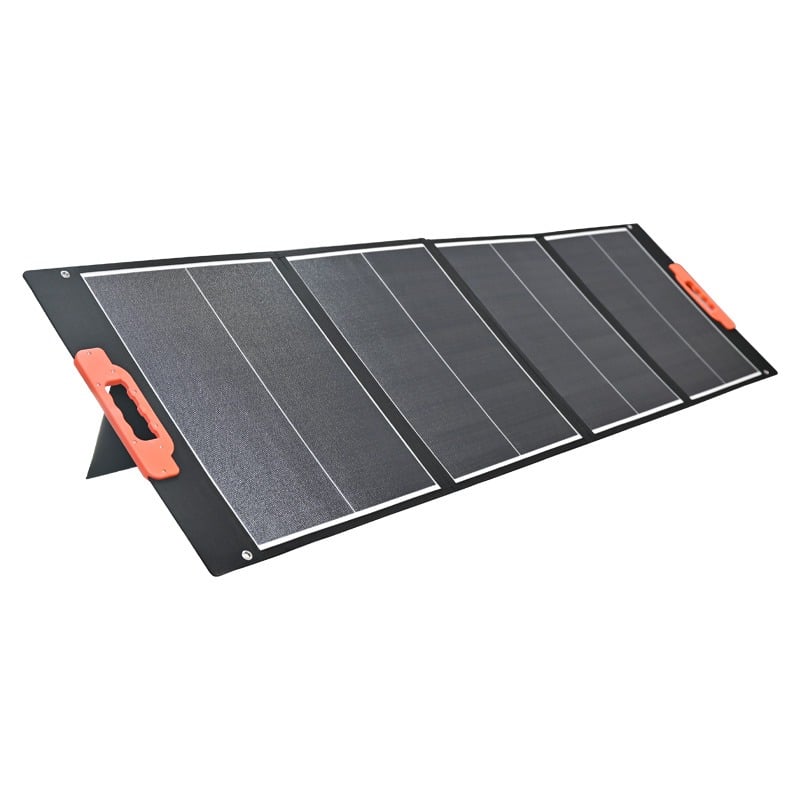
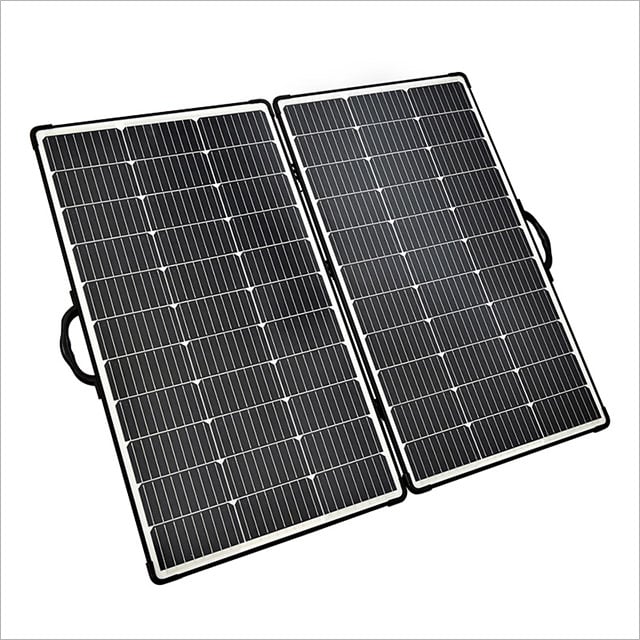
If your caravan’s roof already houses skylights, awnings, or other fixtures, you might discover that there isn’t sufficient space to accommodate solar panels. However, there’s no need to worry—portable solar panels offer a superb alternative, especially ideal for weekend getaways or for those who prefer a non-permanent solution. Portable solar panels are typically available as foldable solar suitcases, designed to be adjustable and capable of capturing sunlight from any angle. This flexibility allows them to harness sunlight that fixed panels may miss, provided you have the space to deploy them. Although portable panels require regular setup and need to be stowed away when not in use, they are perfect for powering cars, SUVs, and trailers without taking up valuable roof space. Lastly, if you’re not yet prepared to install permanent rooftop solar panels, a foldable solar suitcase is an advisable option. These compact, easy-to-store panels, such as the 100-watt or 200-watt models, are exceptionally convenient and efficient.
Solar Panel Kit for Campervan
If you’re contemplating installing solar panels on your camper van yourself, the process of identifying and acquiring all necessary components can be daunting. Our solar panel kits provide a complete solution that includes both rigid and flexible solar panel options, accompanied by a Victron MPPT charge controller.
These kits not only supply the solar panels and charge controller but also all the requisite accessories for fully integrating the solar system into your camper van’s electrical infrastructure. Specifically, each kit includes mounting brackets, cable entry glands, and all essential cables, connectors, fuses, and fuse holders. You simply need to select the type and size of the solar panels you require, then choose the appropriate mounting options and smart features based on your specific needs.
Our kits are designed to ensure that you have every single component needed for a thorough installation of the solar system within your camper van’s electrical framework. Beyond the primary parts, they also provide all necessary cables, connectors, and fuses, streamlining your installation process for greater convenience and efficiency.
How does a solar panel work?
Solar panels are an increasingly popular and sustainable method for recharging leisure batteries in camper vans. With the right electrical setup and adequate sunlight, solar panels can enable your camper van to operate completely off-grid, eliminating the need for external electrical connections. This allows you to relax at your favourite campsite, explore the countryside, or even travel around the world without worrying about power supply.
In an off-grid electrical system, solar panels are part of a photovoltaic (PV) system that works by converting sunlight into electricity. Solar panels consist of multiple photovoltaic cells linked together, typically made from semiconductor materials such as silicon. When light particles (photons) strike the solar panels, they dislodge electrons within the silicon, generating an electric current. The stronger the light intensity, the greater the generated current.
Since the voltage and current output from solar panels can vary, a charge controller is necessary before the electricity can be transmitted to the batteries. The charge controller regulates the voltage from the panels and draws the appropriate current to efficiently charge your leisure batteries, ensuring the system operates safely and stably.
What size solar panel do I need?
Having determined the appropriate type of solar panel for your needs, the subsequent step involves selecting the size or, more precisely, the rated power of the panels. The rated power (W) of a solar panel indicates the amount of electricity it will generate to charge your battery bank. When choosing the power of your solar panels, consider the size of your battery bank, the length of time you plan to stay off-grid, your budget, and the available space on your roof.
Steps to calculate your solar panel power requirements:
- Determine the usable capacity of your battery: For a 100Ah AGM battery, it is advisable not to discharge beyond 80%, making the usable capacity 100Ah×80%=80Ah
- Convert to watt-hours (Wh): Multiply the ampere-hours by the battery voltage to convert it to watt-hours: 80Ah×12V=960Wh
- Account for charging efficiency: Considering the 85% charging efficiency of AGM batteries, the actual usable electricity amounts to:
960Wh×85%=816Wh
- Solar panel power requirement: With an average of 4 effective sunlight hours per day (as in Berlin), the solar panels would need to produce:
816Wh/4hours=204W
To ensure reliability, consider installing multiple smaller monocrystalline solar panels to achieve or exceed the needed power. For instance, options might include two 100W panels or a single 200W panel.
Efficiency and seasonal variations
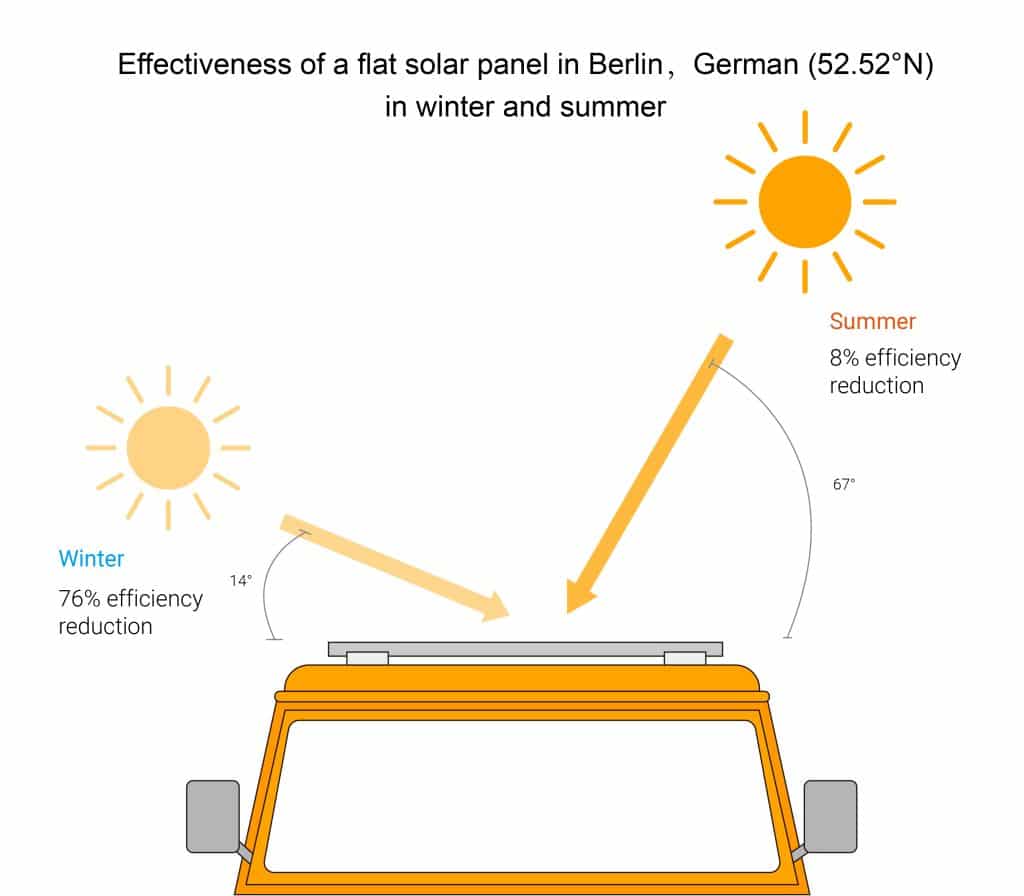
Solar panel efficiency is influenced by factors including the sun’s angle and seasonal changes, which are crucial for panels mounted on a flat roof. In Berlin’s summer, solar panel efficiency might reach about 92%, while in winter, it could decrease to 24% due to the lower sun angle, significantly reducing solar power generation capacity.
Installation recommendations
- Select the appropriate panels: Opt for small, efficient monocrystalline panels, such as Sungold’s 100W or 200W options.
- Maximise roof space: Install as many panels as possible to increase overall power output.
- Maintain and clean regularly: Keep the panels clean and free from obstructions to ensure peak efficiency.
By adhering to these guidelines, you can effectively select and install suitable solar panels for your camper van, securing a dependable and steady power supply for your adventures.
How to Make Your Solar Panels More Efficient?
To optimize the performance of your solar panels, consider implementing the following strategies:
Apply Anti-Reflective Coatings: If your solar panels lack anti-reflective coatings, adding them can be beneficial. These coatings significantly enhance light absorption, thus boosting the efficiency of your panels.
Enlist Professional Installation Services: Leveraging the expertise of professional installers can ensure that your solar panels are set up for maximum output. Experienced technicians offer the best installation solutions that cater to your specific needs.
Manage Appliance Usage: To extend battery life and ensure sustained power supply, manage the use of appliances carefully. Avoid running multiple devices simultaneously to prevent rapid battery depletion.
Maintain Cleanliness of Solar Panels: Regular cleaning of your solar panels is crucial. Removing dust and debris promptly ensures that the maximum amount of sunlight reaches the panels, which is essential for optimal performance.
Inspect and Secure Wiring Connections: Regularly check the wiring connections to ensure they are secure and functional. Make adjustments as necessary to prevent any disruptions in system performance.
Additionally, it is critical to address power output considerations before proceeding with installation to ensure your system is tailored to meet your energy needs effectively.
Wattage Output
Wattage is a crucial factor to consider, and it’s vital to test the power output both before and after installation. It’s essential to critically assess your power consumption and energy needs. Typically, solar panels have a rated power ranging from 50W to 200W. For instance, under optimal conditions, a 100W solar panel can generate approximately 400 watt-hours of electricity per day. To enhance power generation, consider increasing the number of panels.
Before initiating the installation of panels on your roof, first evaluate the size of your battery bank and calculate your daily wattage usage.
We advise that the average van driver should not venture out with less than 200W of solar panels. However, a more cost-effective approach may be to consider integrating a 400W system with a 200-300Ah AGM or lithium battery bank, which offers greater efficiency and potential savings.
How to Install Solar Panels For A Campervan Roof?
Checking solar panel size and attaching brackets
The initial step in the installation of solar panels on a camper van should invariably be positioning the panels on the van’s roof to confirm they fit the allotted space. Ideally, this check should have been completed prior to purchasing the solar panels; however, it is crucial to verify the fit once more before commencing any drilling or affixing of the panels.
If you’re setting up rigid solar panels, you can reposition them and start securing the mounting brackets. Regardless of whether you are using L-brackets or corner brackets, now is the time to install these supports securely.
Fitting the solar panels to the campervan roof
Rigid solar panels
After securing the brackets to the solar panels, reposition them on your van’s roof. For installations using corner brackets, you can simply bond them in place with an appropriate adhesive,
If you opt for L-shaped brackets, use the brackets themselves as templates to mark the locations for drilling. After marking all necessary positions, shift the panel aside to drill the holes.
For those using L-shaped brackets, it’s advisable to employ well nuts instead of the standard self-tapping screws that accompany the brackets. Many individuals have faced issues with water ingress in their camper vans due to the difficulties in achieving a reliable seal with self-tapping screws, even when using extensive silicone.
Well nuts consist of brass nuts encapsulated in rubber. When the screw engages with the nut, it pulls the nut upwards, expanding the rubber around and beneath it. This expansion forms a robust seal around the hole between the roof and the bracket, effectively preventing any water from seeping through. Although there’s a theoretical risk of water penetration around the bolt head and through the screw threads, this is significantly reduced by using high Shore hardness rubber washers to seal the area between the bracket and the fastener head.
Once the holes are drilled and the well nuts installed, securely fasten the solar panels into position.
Flexible solar panels
After securing the brackets to the solar panels, reposition them on your van’s roof. For installations using corner brackets, you can simply bond them in place with an appropriate adhesive,
If you opt for L-shaped brackets, use the brackets themselves as templates to mark the locations for drilling. After marking all necessary positions, shift the panel aside to drill the holes.
For those using L-shaped brackets, it’s advisable to employ well nuts instead of the standard self-tapping screws that accompany the brackets. Many individuals have faced issues with water ingress in their camper vans due to the difficulties in achieving a reliable seal with self-tapping screws, even when using extensive silicone.
Well nuts consist of brass nuts encapsulated in rubber. When the screw engages with the nut, it pulls the nut upwards, expanding the rubber around and beneath it. This expansion forms a robust seal around the hole between the roof and the bracket, effectively preventing any water from seeping through. Although there’s a theoretical risk of water penetration around the bolt head and through the screw threads, this is significantly reduced by using high Shore hardness rubber washers to seal the area between the bracket and the fastener head.
Once the holes are drilled and the well nuts installed, securely fasten the solar panels into position.
Installing the cable seal
You may need to purchase solar panel extension cables to ensure that the cables reach the cable entry glands. Then, you should use MC4 charge controller cables to connect the solar panels to the charge controller.
We recommend purchasing Victron solar cables that are twice the length needed to run from the solar panels to the charge controller. These can then be cut in half to provide two cables: one end with MC4 connectors and the other end with bare cables for connection to the charge controller.
If you are unsure how to connect the solar panels, please refer to our solar panel guide page, which explains the wiring of solar panels in series and parallel.
Sealing the holes
Scanstrut cable glands are self-sealing using a gasket, so no additional sealant is required. However, if you are using Renogy cable entry housings, you will need to seal them with a combination of putty tape and Sikaflex 512.
For rigid panels with L-brackets, we also recommend covering any solar panel fasteners with silicone to ensure there is no chance of water ingress.
Frequently Asked Questions (FAQs)
