


RV Solar Solutions
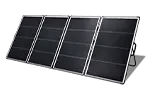
RV SOLAR PANELS APPLICATIONS
Then our rugged and state-of-the-art RV solar panels are the perfect choice for you.


TRAILER
RV solar panels are designed to withstand harsh outdoor conditions, including:
* Wind resistance
* Heat dissipation
* Extreme temperatures
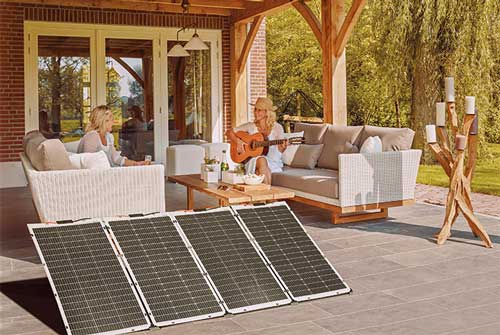
Portable Solar Panels for RV - Powering Camping Life
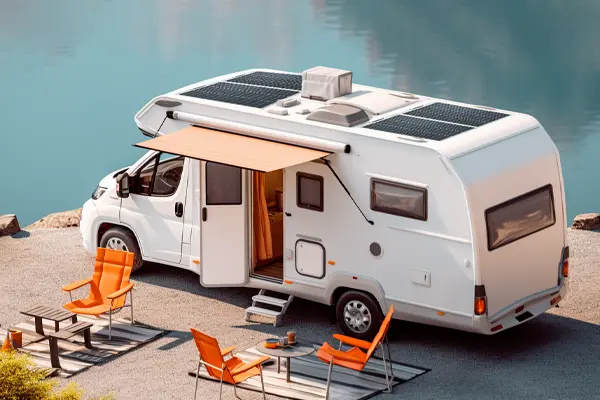
Best Solar Panels for RV - How They Work and Other Applications
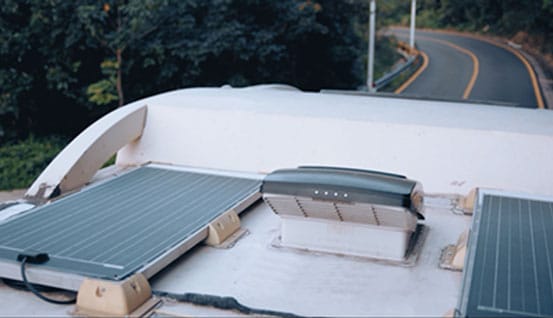
How to Mounting Solar Panels on RV ?
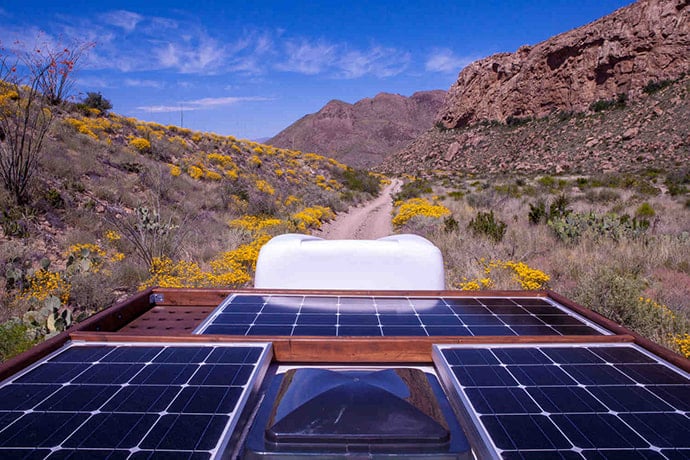
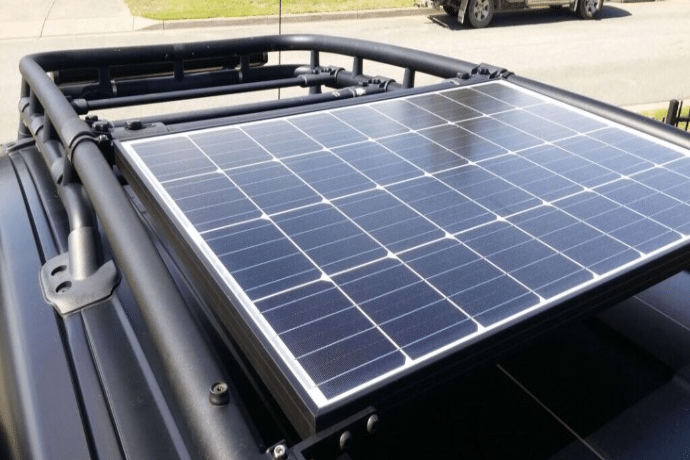
Fixed Mounting
Fixed mounting systems are specifically designed for rigid solar panels and require drilling holes in the roof of the caravan, installing brackets and then fixing the panel to the brackets and ensuring that the top is flat
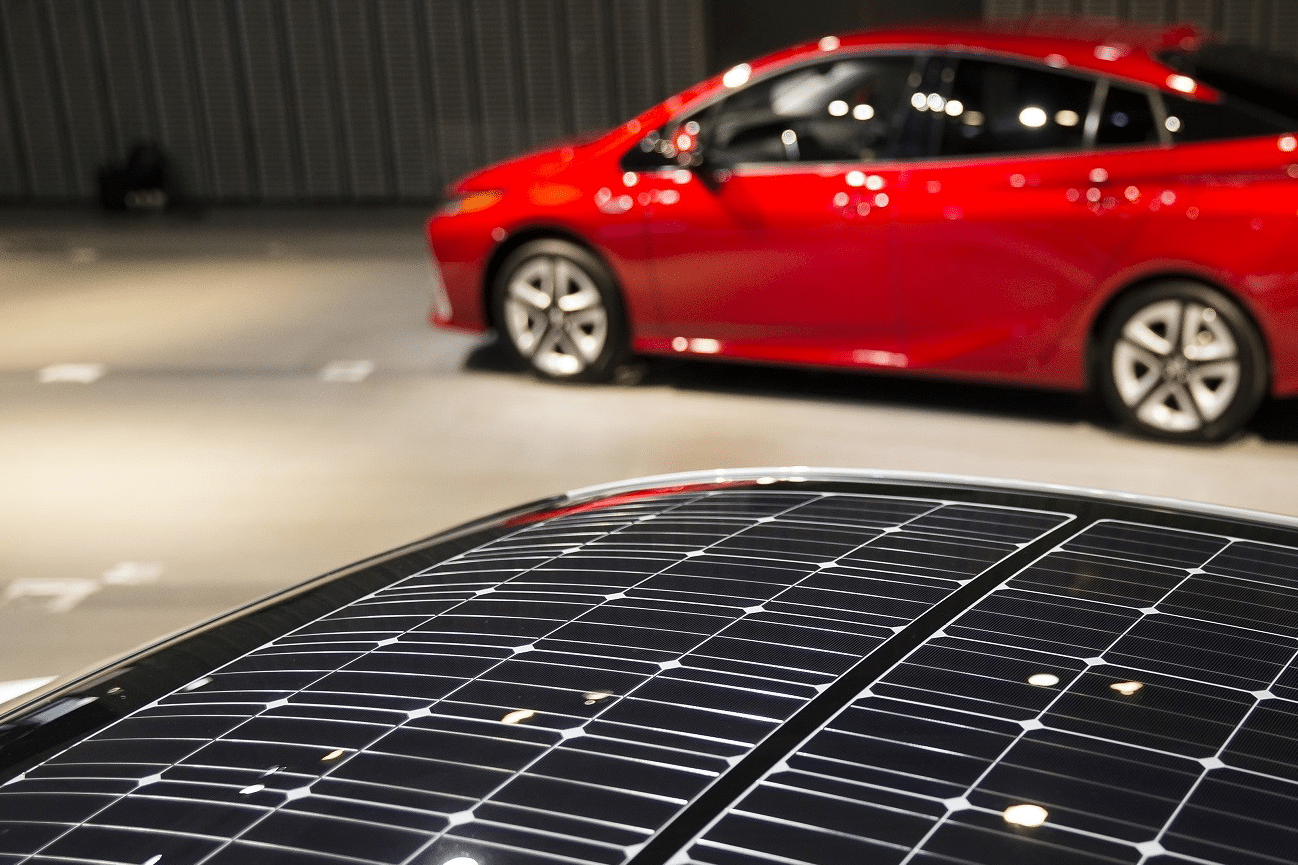
Flexible Mounting
Flexible solar panels can be adapted to the shape of the caravan so that they fit snugly and do not protrude from the caravan roof. Simply use tape or special adhesive to fix the back of the flexible solar panel.
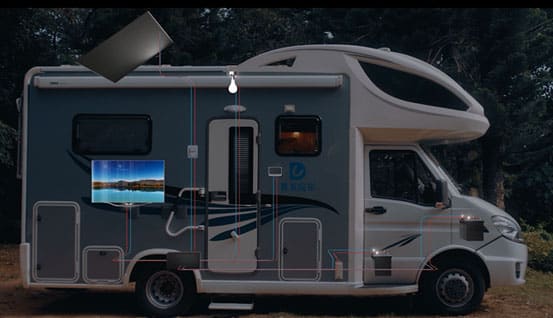
Tilt Mounting
You can use the tilt mechanism to mount the solar panel without having to fix it in a flat position, so that by adjusting the tilt angle of the panel, the solar panel can work with maximum efficiency and absorb light energy, thus generating greater power output.
Step 1
Planning The Layout of Solar Panels on RV Roof
Place the solar panels on the RV roof and mark them with colored tape. If connecting multiple solar panels, you will also need to leave enough space between them (about 20mm).
While planning the layout of the RV roof, check that the roof is not damaged or leaking, if it is, it is best to repair the roof before continuing with the installation of the panels.
Step 2
Remove Satellite and TV Antenna From RV
We recommend removing any obstructions from your RV roof , having them on the roof will prevent the solar panels from getting optimal sunlight exposure. The ideal layout is to have only panels and vents on RV roof to maximize sunlight.
Step 3
Installation of Solar Panels
The mounting process differs depending on the type of panels you have. You must install rigid panels with screws by drilling holes into your roof. They can either be affixed flat or tilt-mounted on the roof.
However, you don’t have to drill holes in your RV roof to install solar panels. Flexible designs can be mounted with adhesive attached directly to the roof surface.
Step 4
Connect Multiple Solar Panels
If you intend to connect multiple solar panels, you have two connection options: solar panels in series or parallel:
- In series: Attach the positive terminal on the first panel to the negative terminal on the second. This type of connection increases the voltage.
- Parallel: Connect the panel’s positive cables with the positive cables of the other panel. Do the same with the negative cables. A parallel connection is preferable if you want to increase your current value.
Step 5
Connecting A Portable Power Station
Once the solar panels are installed, you can connect them to a portable power station via an adapter. The power station should start charging once you connect the solar panels.
Step 6
Wiring of DC Appliances
You will need to use a separate wire to connect the DC to the fuse box. You can install the cables along the ceiling and trim them to tuck everything away neatly.
When you connect shore power at your campground, the current flows directly into the fuse panel, which looks like a circuit breaker in a regular house. A circuit breaker on the AC side supplies 120V to the 12V DC panel through a converter.
Step 7
Connecting Wires to The Fuse Panel
Once the DC devices throughout the RV are wired, we’ll connect them to the fuse panel. Strip the wires with wire strippers to remove the protective coating. Then use a crimping tool to crimp the terminal heads to the wires.
Connect the terminal heads to the fuse panel, which should be labeled with negative and positive connections, and add a fuse to the positive portion. The fuse protects against power surges.
Step 8
Connecting the Fuse Panel to The Power Station
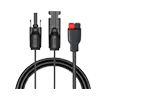
The easiest way to connect the fuse box to the power station is to use a cord with a car adapter plug on one end and a positive and negative fuse box connection on the other.
Start by connecting the cord to the fuse box. Then plug the other end into the power station and turn it on.
| Device | Rated Power | Usage Time | KWh Per Day |
|---|---|---|---|
| Toaster | 600W | 10min | 100Wh |
| Coffee Maker | 500W | 10min | 85Wh |
| Refrigerator | 80W | 24h | 1920Wh |
| Television | 70W | 2h | 140Wh |
| Mobile Phone*2 | 15W | 3h | 90Wh |
| Fan | 60W | 2h | 120Wh |
| Light Bulbs*4 | 10W | 5h | 200Wh |

RV Solar Panels FAQs
RV solar panels are designed to withstand the conditions of RV applications. Therefore, they not only have good heat dissipation but also resistance to salt fog, suitability for walking, and anti-slip features.
Not every RV enthusiast will have the same solar setup. If you only travel in your RV on weekends or for short periods, a full-fledged solar system may not make financial sense.
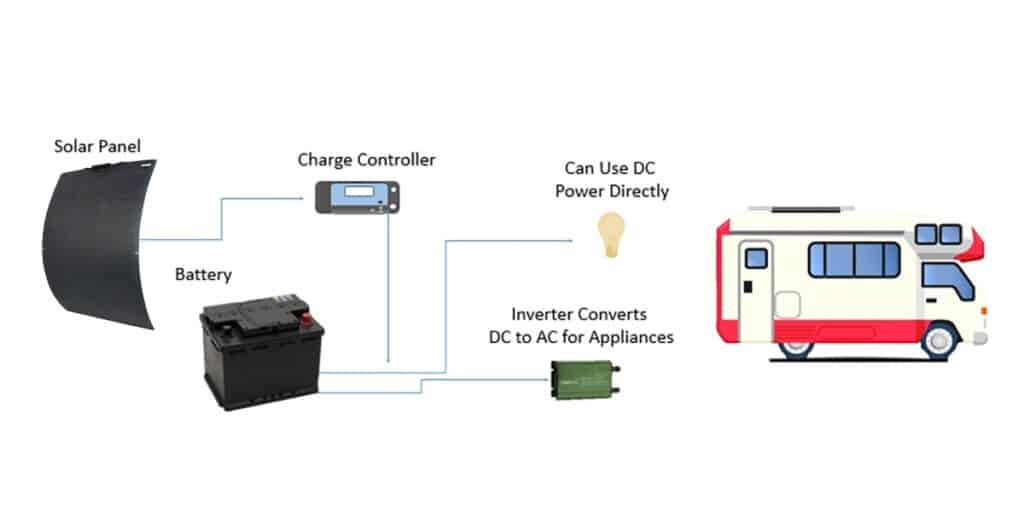
We recommend using a smaller system, such as one of Sungold’s smaller RV kits, like the 100W 12V panel kit. However, if you frequently park or camp in areas without utility hookups for extended periods and require power, a complete RV solar system (including RV solar panels, batteries, inverters, charge controllers, and wiring) can be a worthwhile investment. The significant investment will pay off over time.
Sungold offers RV solar kits ranging from 100 to 400 watts, equipped with essential components such as MPPT charge controllers and cable entry housing units.
It is equally important to clarify the key differences between adding solar to a home and installing a solar system for an RV. Residential solar systems are typically designed to meet all of your household energy needs, while RV solar systems are meant to maintain a stable charge in the batteries and provide enough power to charge some appliances within the RV.
Depending on the charging capacity, a single 100W solar panel can take approximately 4-20 hours to charge a 12V battery. If you want to charge the battery quickly, you can increase the number of solar panels used for charging.
If your daily consumption energy is 5,000 watts, you’ll need at least two 400W solar panels to power your RV’s appliances and devices. Keep in mind that it’s unlikely you’ll receive 7 hours of peak sunlight each day. Solar panels can still gather energy on overcast or rainy days, but their output will be diminished.
Like with your home, the appliances inside an RV run on AC while the engine and battery of the RV use DC electricity. Solar panels run on a DC, meaning that just like a residential solar setup, your RV solar panel system needs an inverter to convert that energy to AC electricity.
The installation process varies depending on the type of panel. In the case of rigid solar panels, holes must be drilled in the roof and then the rigid panels are installed with screws. They can be mounted flat or tilted on the roof.
However, with flexible solar panels, there is no need to drill holes in the RV roof to install the panels. The flexible design can be attached directly to the roof surface with adhesive.